Difference between revisions of "3D Asset Workflow: UV Mapping"
(Created page with "= Summary = We use Modo for this work phase, so all of the notes and screenshots here are mostly Modo specific == While UV Mapping, keep the following things in mind == #...") |
m |
||
| Line 1: | Line 1: | ||
| + | <div style="border-bottom:2px solid #99aac7; background:#d0def5; padding:0.4em 0.5em; font-size:130%; margin-bottom: 25px; text-align: center; float:top;"> | ||
| + | ⬑ [[3D Asset Workflow]]</div> | ||
| + | |||
| + | <div style="padding-right: 10px; padding-left: 1000px; padding-top: 60px; padding-bottom: 80px;"> | ||
| + | {{#lst:3D Asset Workflow}} <!-- Link list transcluded from main 3D Asset Workflow page --> | ||
| + | </div> | ||
| + | |||
= Summary = | = Summary = | ||
We use [[Modo]] for this work phase, so all of the notes and screenshots here are mostly Modo specific | We use [[Modo]] for this work phase, so all of the notes and screenshots here are mostly Modo specific | ||
Revision as of 16:40, 28 July 2023
- ◇ Main Steps
- 3D Asset Workflow: Concepting
- 3D Asset Workflow: Sculpting
- 3D Asset Workflow: Retopology
- 3D Asset Workflow: UV Mapping
- 3D Asset Workflow: Baking
- 3D Asset Workflow: Texturing
- 3D Asset Workflow: Asset Assembling
- 3D Asset Workflow: Naming the Asset
- 3D Asset Workflow: LODs
- 3D Asset Workflow: Exporting to Editor
- 3D Asset Workflow: Completed asset checklist
- ◇ Additional Steps
- 3D Asset Workflow: Alternative Textures
- 3D Asset Workflow: Billboards
- 3D Asset Workflow: Blocksets
- 3D Asset Workflow: Collisions
- 3D Asset Workflow: Sikailu
- 3D Asset Workflow: Sway
- 3D Asset Workflow: Tile Textures and Trimsheets
- 3D Asset Workflow: Tintmask
- 3D Asset Workflow: Vegetation
- ◇ General Tips and Troubleshooting
Summary
We use Modo for this work phase, so all of the notes and screenshots here are mostly Modo specific
While UV Mapping, keep the following things in mind
- Texel Density
- All textures should have consistent resolution throughout the game
- Always try to get as close to these numbers as possible:
- Environment assets: 200px/m
- Environment assets meant for far background use can have less, for example huge mountains (but they shouldn't be used near the camera because of this)
- Characters: 1500px/m
- Character head (that is seen close up in the cutscenes): 3400px/m
- Environment assets: 200px/m
- One big map or several small maps?
- Can some parts of the asset be mirrored?
- Mirroring saves UV space, as mirrored UV islands are overlapped on top of each other
- Don't make unique textures for things that don't need unique textures
- Use recycling and/or tile textures and trim sheets instead
- Packing the UV islands as economically as possible
UV Mapping Steps
Check more info on Modo's UV tools here
- If you have hard edges in your model, you can use them as a Selection Sets when making UVs - just select all the hard edges, and you already have some of the UV seams selected
- If there are hard edges in the model, it should always also have a UV seam on it - otherwise it'll create baking artifacts
- Make sure the texel density is right with the Texel Density Toolkit
- To save UV space, you can mirror some of the UVs - however, try to avoid the butterfly effect, which can be visible in the middle if everything is mirrored
- You can e.g. mirror both sides, but leave a strip of unique geometry/UV island in the middle
- Once the UVs are done, check that there is only one UV Set on the Lists -> UVMaps area (the model can have several texture maps/materials, but this is the UV Sets)
- Having more than one can make the model appear grey in the Editor
- UV Set Name: map1
- Assign a material or materials to your model - this will be the meshmaterial's name in the Editor later, so it should reflect your model's name
- Use the correct material naming conventions
- In general, use your model's name and at a "_mat" suffix to it
- Use the correct material naming conventions
- After UVs, it's time to bake the highpoly model to the UVs of the low poly model, and make textures using the bakes
UV Sets
- There should only be one UV Set in the FBX file, named "map1"
- The naming is especially important for assets that will be animated, because Maya (the program our animators use) uses map1 as a default
- If it doesn't exist, Maya will create a new, empty UV Set with that name, and then set that as a default
- When this happens, it needs to be fixed in Maya before exporting to game, otherwise textures wont work, and this causes extra work for riggers
- If it doesn't exist, Maya will create a new, empty UV Set with that name, and then set that as a default
- The naming is especially important for assets that will be animated, because Maya (the program our animators use) uses map1 as a default
UV Map Dimensions
- The UV Map's dimensions need to follow The Power of Two
- Power of Two is a set of simple criteria to ensure the 2D image assets follow the regulated sizes and dimensions:
- Width/height divisible by 8, and/or,
- Width/height that can be doubled-up or divided down by 2
- Modern games prefer dimensions of 1:1, 2:1, or 1:2 for ease of use, speed, and processing
- This is notwithstanding the additional preference for the use of texture 'sheets' where a single image may contain several areas that are independently mapped to completely separate objects
- In practice, the textures should thus be e.g. 64px x 64px, 512px x 256px, 2048px x 2048px and so on, 4096px being the highest and biggest we can currently feasibly go with our technology
- Abbreviations:
- 1024px x 1024px = 1k
- 2048px x 2048px = 2k
- 4096px x 4096px = 4k
Optimizing the UVs
- It's important to optimize the UV space so that you can use as small texture size as possible
- UVpackit for Modo
One Big Map or Several Small Maps?
- When to use several smaller maps instead of one bigger map, and when to use one big map instead of several separate maps?
- Think about the different situations the asset will be used in, and what is the most optimal
- One map
- If you can assume that the set of models will be often used in the same level, try to put them in one texture map
- Each separate texture map will add one more draw call so it's often better to have one big texture than several small textures
- In general, it's good to have same sized assets having the same texture map
- Several maps:
- If you have some huge maps with e.g. big rock textures, it might be a good idea not to put the tiny pebbles in the same big map
- The tiny pebbles will most likely be used separately, too - if they're in the same huge texture map than the big rocks, the Editor will need to load the huge texture each time for them, even if the big rocks aren't used in that particular level
- If the pebbles are in a separate map, their map can be quite small (e.g., 128px x 128px, depending on the texel density), so it would be bad to have to load the huge 4096px x 4096px size map containing the huge rock textures
- If you have some huge maps with e.g. big rock textures, it might be a good idea not to put the tiny pebbles in the same big map
When and How to Optimize
- How much you can/should optimize will depend on a couple of factors:
- The intended use of the model: If the model will only be seen from far away, there is no need to optimize as much as for e.g. a first-person model, but it's always a good practice
- The intended texture size: If you have small textures, and your UV islands are close together, the texture can bleed from one island to the next - in this case, you should leave more padding between the islands
- The shape of the model and the UV islands: Sometimes, especially with organic models, the UVs can be pretty round/curved/wavy. These kinds of UVs will naturally have more wasted space; UVs for hard-surface models can be easier to optimize
- How much you're willing to cut/break to make the UVs fit better: Cutting the UVs into smaller bits can make it easier to fit them tightly together, but this can result in unwanted seams. Again, hard-surface models might have an easier time with this
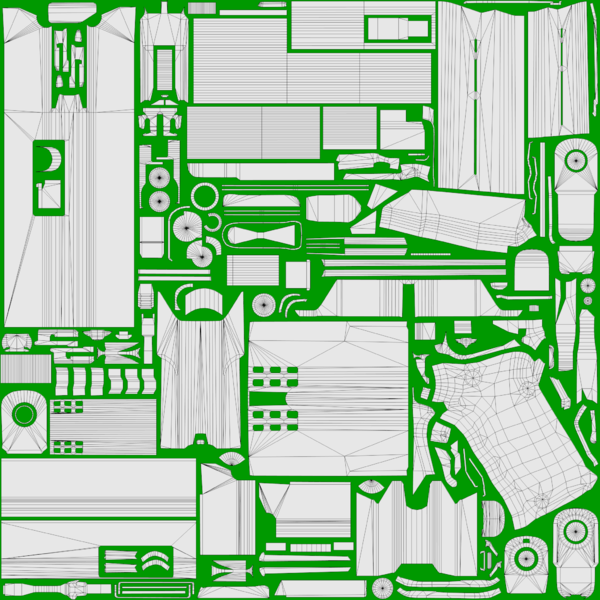
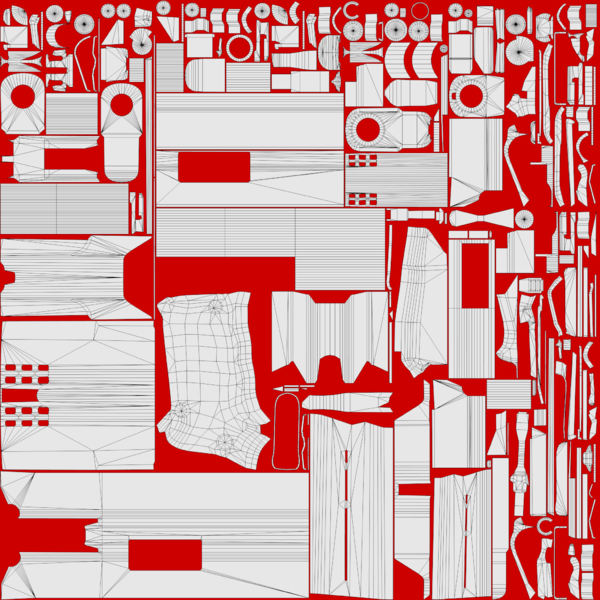
- It's much easier to optimize the UVs of a hard surface model compared to an organic model, but do your best to save the UV space:
For a hard surface model it's easier to optimize the UV map
For an organic model it's harder to optimize the UV map


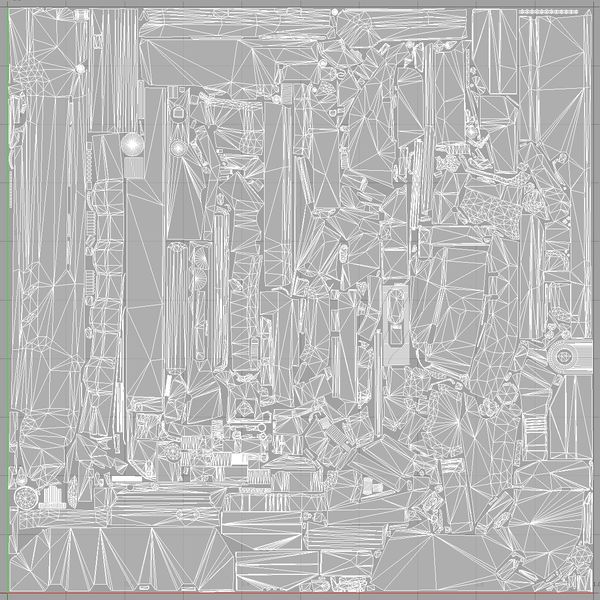
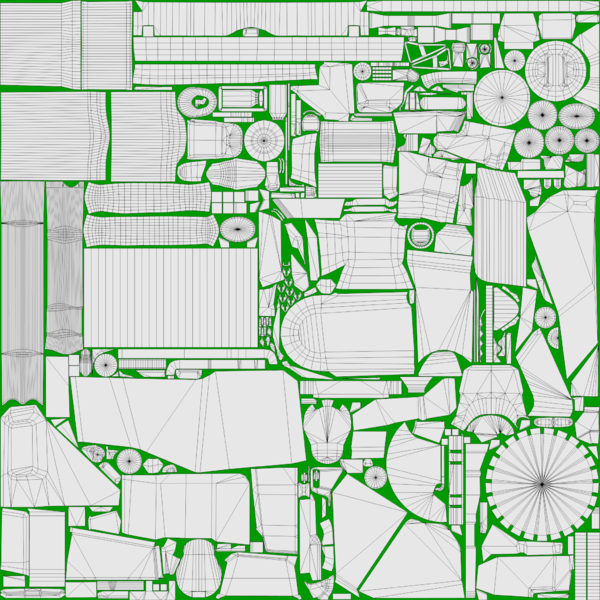
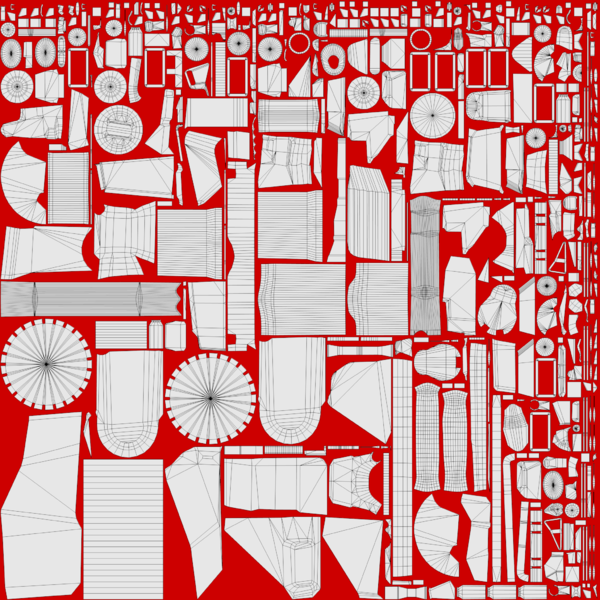
- Left: UVs for a gun model arranged by hand with very little space between UV islands. Right: UVs arranged with "pack UVs" feature creates more empty areas between UV islands:
UVs for a gun model arranged by hand with very little wasted space
UVs arranged with "pack UVs" feature creates empty areas between UV islands


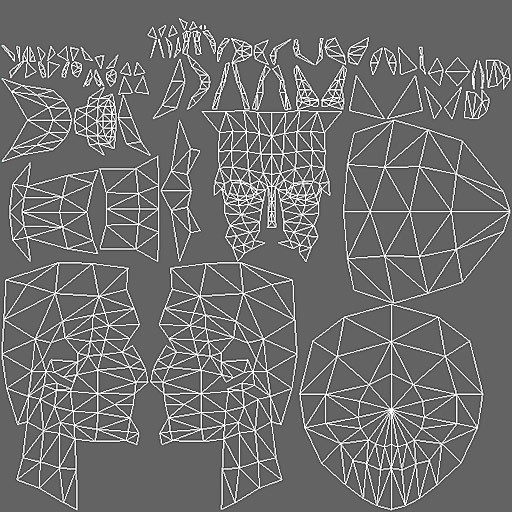
- Left: UVs for a saw tool model arranged by hand with almost no space between UV islands. Right: UVs arranged with "pack UVs" feature creates more empty areas between UV islands:
UVs for a saw tool model arranged by hand with almost no wasted space
UVs arranged with "pack UVs" feature creates empty areas between UV islands


- Sometimes, though not often, you might want to give more UV space to a particular part of the model
- More UV space means that those UV islands will have bigger texel density than the rest of the UV islands
- This way, the most important parts will have better texture quality, and the parts that will not be seen up close will be slightly worse, but not very noticeably
- E.g. when making a model that's meant to be viewed in first person, you might want to give more UV spaceto the parts that will be closer to the camera (such as the stock, handle or sights of a gun), and less to those further away (such as the tip of the barrel, or the bottom parts of a gun)
- More UV space means that those UV islands will have bigger texel density than the rest of the UV islands
Recycling, Mirroring, and Tile Textures/Trimsheets
Recycling
- 3D Asset Workflow: Blocksets
- If you have a set of similar items like trees, consider if some of the tree parts could use the same map, this way you'll save lots of texture space
- Don't make unique textures for things that don't need unique textures, just recycle the same texture for all those parts
- Remember that if you mirror/recycle/tile something, it can't have anything too special in the texture
- For example, there can't be a big noticeable scar/crack/dirt/etc details, as it'll be very easy to notice them repeating right away
- These type of pieces need to have pretty general detailing, so that it's not easy to see the repeating if the piece is copied a lot
- Recycling the same models with the same texture:

Mirroring
- Mirror UVs whenever you can do it so that it's not easily noticeable
- A more sophisticated way of mirroring is to keep the center line and it's surroundings unique, but mirror the "edge" areas
- UVs of a symmetrical model can be mirrored to save a lot of UV space, but this can create really unnatural look if not used with caution
- For example, mirroring a character's face from the center line is a bad idea if there will be close-ups of the face
- Mirroring any asset along the center line usually looks bad
- Can be averted by having a strip of unique UVs in the center instead
- For example if you make a cat model, keep the head and torso unique and mirror only the legs:

Tile Textures/Trimsheets
Adding Materials and Textures in Modo
- Steps for adding materials and textures in Modo can be found from Modo#Materials