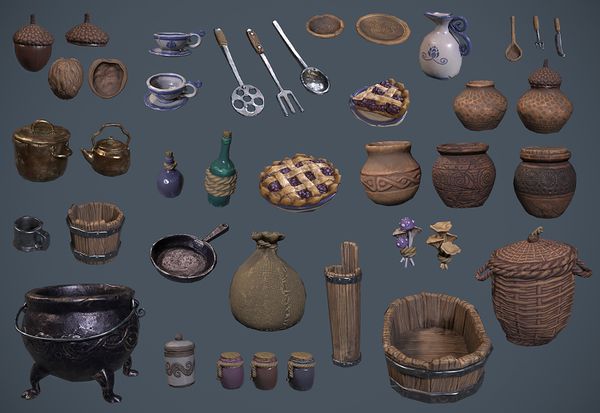
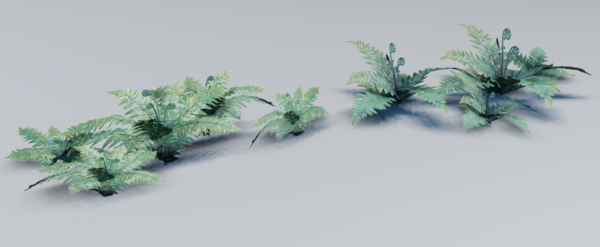
3D Asset Workflow
This is a series of Wiki pages related to the 3D asset creating process at Frozenbyte. With these guidelines you should be able to create a game asset from an idea to a textured game model or at least get the needed information on what you should research and practice in order to achieve that. The information on these sites is created and collected by our 3D artists and these methods are used daily here at Frozenbyte. The wiki pages also include links to external sources we’ve found to be useful.
- If you can't find some useful info here, please find it out elsewhere and add the info here in the proper section
- Please keep things organized and use similar format as the existing material here is already using
- Images and videos are super helpful, so those are very much encouraged
- If the info is related to the general 3D asset workflow, add it to 3D Asset Workflow page. If it's Modo specific, add it to the Modo page
- The info should be in one place and linked into another place, no copy & paste duplicates across several pages
3D Workflow steps
At Frozenbyte the 3D artists will usually take care of all of these steps when creating 3D assets. The 3D artist gets to design the asset from the concept to the final asset that is available in our own in-house game editor. Then the level artists will use the assets to create levels.
- The idea - a mental image to work towards is formed when discussing with the art director, thinking about the story, and looking at reference images. This part might require communicating with different team members, for example designers, the script writer and/or other artists.
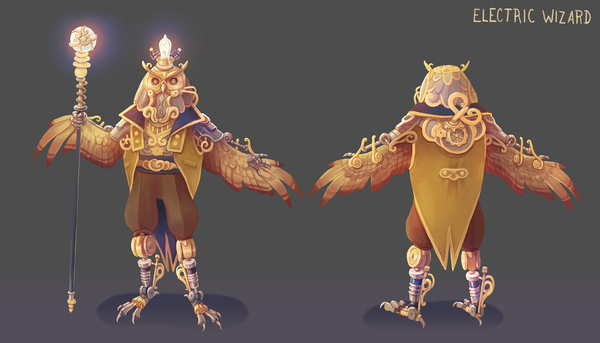
- The concept - once the idea is clear some kind of concept is made. It can be a rough drawing or a sculpt or a photo bash. The point is to visualize the basic idea, so that the AD can approve it, and you can continue working on it further. With a concept everybody has some kind of idea what the end result will be. The concept can be a very rough scribble as long as the general idea is communicated.
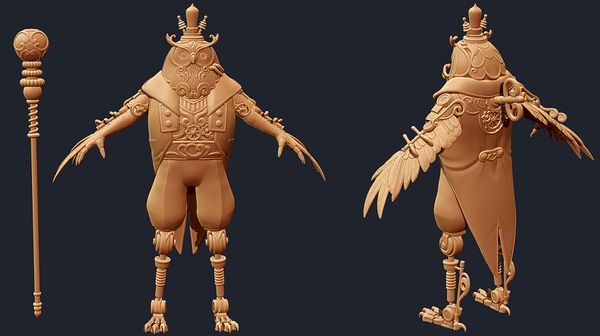
- High-poly mesh, or sculpt - the detailed and performance heavy version of the mesh. It's not used in the game, but it's used to bake texture maps that are seen on the low-poly mesh in game. Like in all the work phases, it's good to first sculpt a rough version of each piece and get a confirmation from the AD that everything seems to be going as desired. Then it's time to sculpt the details.
- "Trash version" of the low-poly mesh, if the mesh is going to be animated - when making characters for example, it's good to give the animators a very crude low-poly version of the mesh. This can be done when all the proportions of the mesh are somewhat finished, but there is not detailing yet. This way the animators can point out possible problems early on, when they start rigging. Note that this step is obsolete if the mesh is NOT going to the animators.
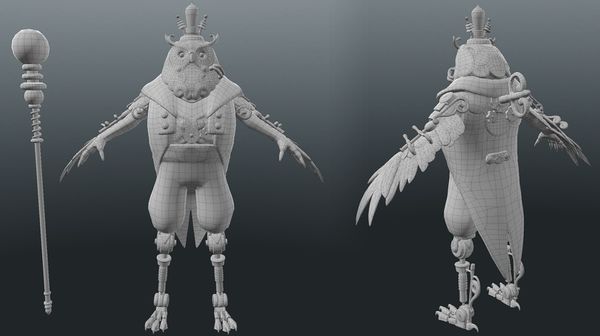
- Low-poly mesh - a less dense and engine-friendly approximation of the high-poly model. This model will end up in the game. It's important to have the optimal amount of geometry (polygons), not too little so that the mesh is too angular, but not too much so that the mesh is needlessly performance heavy. The silhouette is what counts.
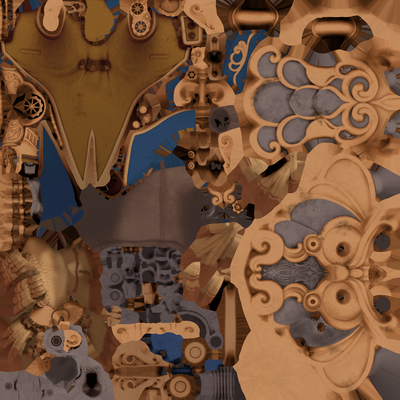
- UV-mapping - creating the texture coordinates for the low-poly mesh, so that the textures are in the correct place on the model and in the correct resolution.
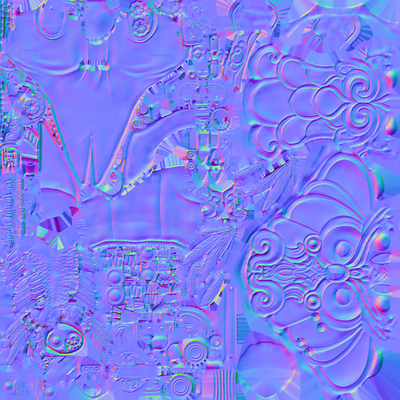
- Baking and texturing - transferring details from the high-poly model to create a surface material for the low-poly model. Adding all the materials and colors on the model.
- Export & import to editor - preparing the low-poly model (fbx) and the final texture maps (tga) and importing them to editor with correct naming, adding your new models to the asset gallery.
- Adjusting in editor - further configuration in the editor, for example back light, self-illumination, etc.
Additional Tips Along the Creating Process
- The scale of the final model is important to get right as early as possible. Always have a game character model as a scale reference from the very start when you start sculpting.
- The scale has to be considered every step of the way: sculpting, detailing, how dense and detailed the low poly mesh should be, and in texturing.
- In some cases it can be a bit hard to see the real scale of things outside the editor game view so a temporary version of the asset can be imported to editor to check the scale before it's finished. It's better to do this than to use days to finalize the asset and then notice it's in the wrong scale.
- How to nail the right scale: Using Details To Make Something Look Big By Neil Blevins.
- Some general art fundamentals tips that are useful for any game artist:
- See Neil Blevins : Theory And Techniques.
- See EmptyEasel.com : Avoiding Tangents: 9 Visual Blunders Every Artist Should Watch Out For.
- See Itcy Animation : LIGHT - a detailed tutorial.
- See Drawabox : Draw a Box: An exercise based approach to learning the fundamentals of drawing.
- See FZDSCHOOL : FZD School of Design - One Year Makes a Difference.
- See Mark Brown : Game Maker's TOOLKIT.
- See Sam Nielson : Environment Lecture Part 1.
- See Sam Nielson : Atmosphere 1.
- See Gnomon : The Art of Environment Storytelling for Video Games - Part One.
