3D Asset Workflow: Sculpting
Revision as of 13:13, 11 June 2018 by SaanaFB (talk | contribs) (Created page with " * Previous workflow phase 3D Asset Workflow: Concepting * Next workflow phase 3D Asset Workflow: Retopo and UVs * This site is a part of a series of 3D asset creating...")
- Previous workflow phase 3D Asset Workflow: Concepting
- Next workflow phase 3D Asset Workflow: Retopo and UVs
- This site is a part of a series of 3D asset creating process related wiki sites 3D Asset Workflow
- For modeling you'll probably find a lot of useful general info on the Modo site
- Good sites for more ZBrush info:
- See Pixologic.com : GETTING STARTED WITH SCULPTRIS PRO.
- See Youtube.com : zbrush tutorial - YouTube.
- See Michael Pavlovich (Youtube.com) : Intro to ZBrush Part 1.
- See Michael Pavlovich (Youtube.com) : Michael Pavlovich - Playlist.
Contents
Sculpting workflow steps
- In the sculpting phase you create a high-poly mesh (a sculpt) of the asset. This version is detailed and performance heavy version and will not be put in to the game as is. It'll be used when retopoing (creating a low poly mesh based on the high poly model) and texture baking (transferring the details of the high poly model to a 2D image texture map that can be assigned to the low poly model).
- We use ZBrush for this phase as it's the industry standard and has the most features.
- Start sculpting in ZBrush using a primitive shape as a starting point OR prepare a base mesh in Modo and import it to Zbrush. You can also recycle models you have done before, for example you can use an existing human head as a starting point.
- Make sure you have everything in the correct scale from the very beginning, have a character model from the game you are working on as a subtool in your scene. For example characters in 9P & Trine 3 are about 2m tall.
- Keep the resolution of the mesh as low as possible at first, until the general shape is established. Then you can add more subdivisions and start adding detail.
- It's often a good idea to show the low res general shape mesh to the AD and get approval before using a lot of time on the details.
- If your model or set of models is consisting of several pieces, first make all of them as a rough low res version, NOT one piece at a time from start to finish. Keep the big picture in mind at all times!
- Keep checking the asset from the distance in which it's probably seen in the game, make sure the detail level is not too dense.
- If an asset has very small detail it will look bad if the mesh on the screen is super small. If some of the detail work is smaller than one pixel, it's be unreadable and might flicker. Make sure the forms are clear to read at the game camera distance.
- Once the asset is finished, it is usually a good idea to add a layer of damage and scratches etc. but keep in mind the possible mirroring and tiling of the UVs, big dents will repeat if you are not careful.
- Trine style assets should be crooked and not exactly symmetrical, but it's often good to keep the sculpt version symmetrical if possible, so that the retopo is easy to do. It'll be much easier to have a clean symmetrical sculpt and once it's retopoed and baked, you can modify the final low-poly mesh to be bent, crooked and unsymmetrical.
- Once you are happy with the sculpt, use decimation master to make the mesh lower resolution while keeping the details. You can decimate to the point just before it starts to show too much (keep the game camera distance in mind here too).
- You can use this decimated mesh for both retopo in Modo and baking in the Substance Painter but if it seems to slow down Modo (even if you are using the "Import reference" for the FBX) you might want to make a lower res version of the sculpt for the retopo purpose. But make sure you use the nice looking decimated version of the sculpt for the baking part.
- Export from Zbrush & Import to Modo.
- If you use the FBX exporting you can keep all the meshes on their right places, no need for the explosion mesh as you can hide the meshes on separate layers of FBX while retopoing and baking.
- There might be problems with scale when exporting from ZBrush and importing to Modo as ZBrush doesn't use any standard scale system but its own units.
Sculpting tips & guides
- Everybody has their own way of working in Zbrush, you can use any techniques you want and it's fine as long as the resulting model looks good!
- Zbrush can feel a bit intimidating for a beginner but there are tons and tons of free learning material online, check a couple of tips in the beginning of this site
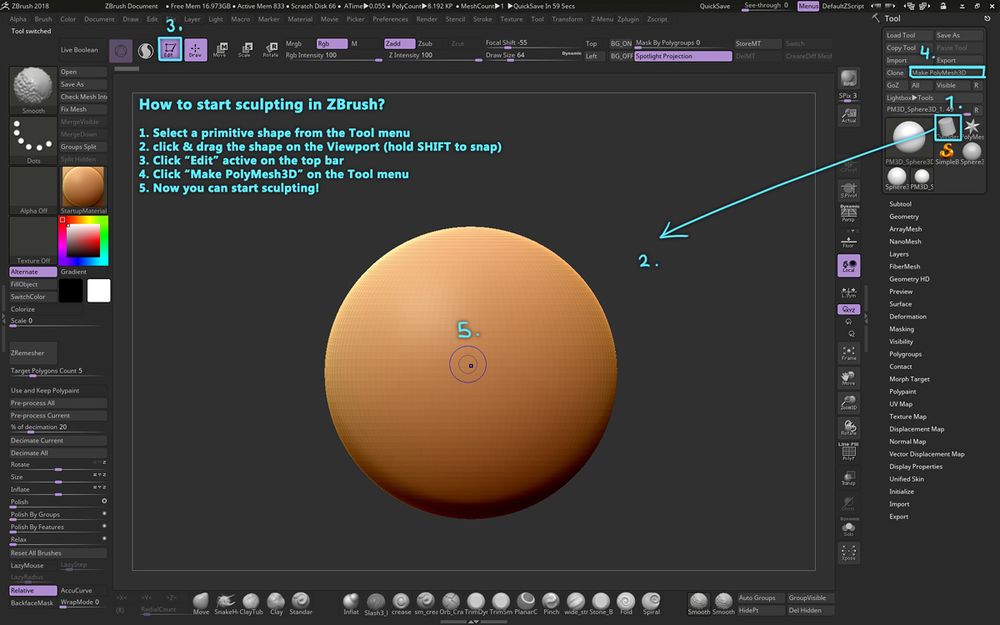
How to Start Sculpting in ZBrush
- Starting sculpting in ZBrush for the first time is not the most intuitive experience
- This guide image is meant for people who aren't familiar with the program so this can make the very first steps much easier
- Here you can also see one way of customizing your ZBrush layout and the brushes this artist uses most often
- Customizing your layout is really important for quick and smooth working so don't be afraid to do it!
Using a base mesh:
- You can use a base mesh you make in Modo before starting the sculpting. You can also skip this part and start in Zbrush from a basic primitive shape of your choosing.
- Base meshes can be useful especially in hard surface modeling, but for very organic models it'll probably be better to skip the base mesh phase.
- You can also use some of your old sculpts or models as starting points.
- If you often make similar models like humanoid characters you might want to start a library of base meshes to make your work faster.
Exporting from Modo
- Once you have modeled the base mesh, export as FBX from Modo.
- Separate mesh layers exported from Modo convert automatically to subtools when using FBX, and the scale stays consistent when you use the same format
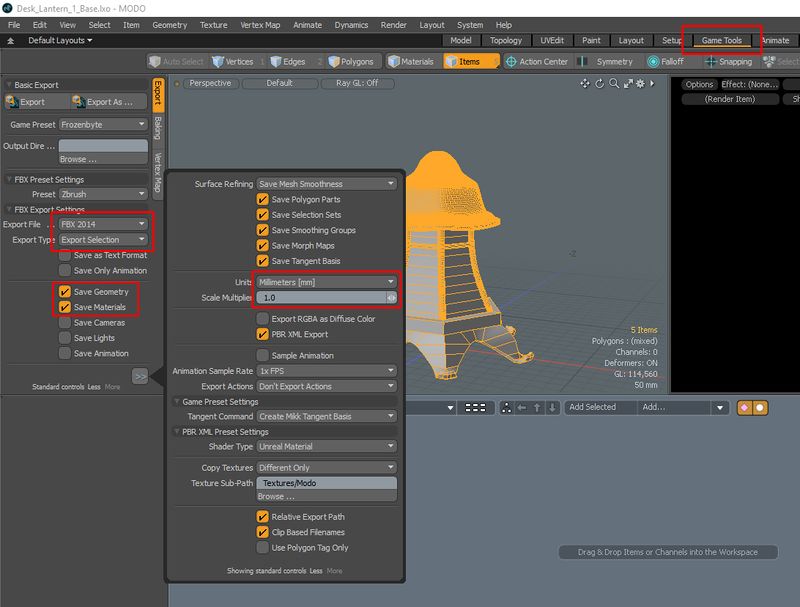
- In Modo go to Game Tools tab and use the following settings:
- Export file: FBX 2014
- Export type: Export selected
- Check only: Save Geometry (Other settings don't matter at this point)
- Units: Millimeters (might depend on what is set as default units in Modo)
- Scale multiplier: 1.0
- Then select the mesh layers you want to export and Export As
- These settings make sure that the mesh scale stays the same in both Modo and Zbrush
Importing to Zbrush
- Go to Zplugin > FBX ExportImport > Import, then drag the model to the canvas and select edit mode from the top left menu
Sculpting a Set
- Try to always think about the most optimal way of creating the set
- Recycle whenever you can!
- You can save texture space by having tile texture for the whole set or just some parts
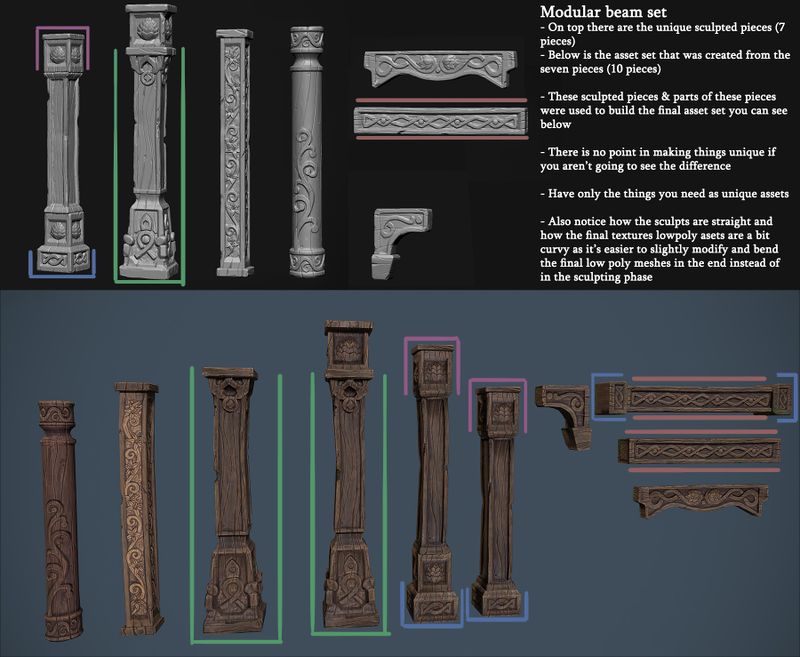
- You can make a set of only few pieces and use that to build various assets
- For example if you make a chair you can just make one chair leg that looks a bit different from different angles and copy & paste that so that you have four legged chair
- You can then uniquely twist each leg to still make them look different even though they are the same leg asset with the same texture
- Optimizing & recycling is the key!
How Many Variations?
- Often with environment assets the task is to sculpt a set of assets that can be used in many ways by the level artists
- It can be for example a set of trees or a set of modular pieces like for example fences that can be combined together in several ways to create different arrangements out of the same pieces
- Usually with organic stuff like trees, plants, rocks etc. a good amount is three different variations of the same thing
- It always depends on the situation of course, of course in some cases more than three might be needed
- Having too many variations is also bad because more time is used to make them but not much more value is added to the set
- Don't make extra variations just in case they are needed, make the optimal amount and once it's used in the game we'll know if more variations are needed, only make them if there is a real need.
- If there are 10 different variations of the same rock the level artists will probably only pick about three favorites and use just those as they get the job done
- The amount of the asset variations should be optimized as well as the geometry of the model
- Level artists can work wonders even with one good rock asset by rotating and scaling it so three is often plenty enough
- To create an optimal set of for example rocks discuss with the level artists and ask what their preferences are
- It's important to keep this type of general asset quite general looking as they are used a lot around the levels
- If you make three variations of a tree/rock/etc. make sure that they are different shape/size with each other to get the maximal variation out of them
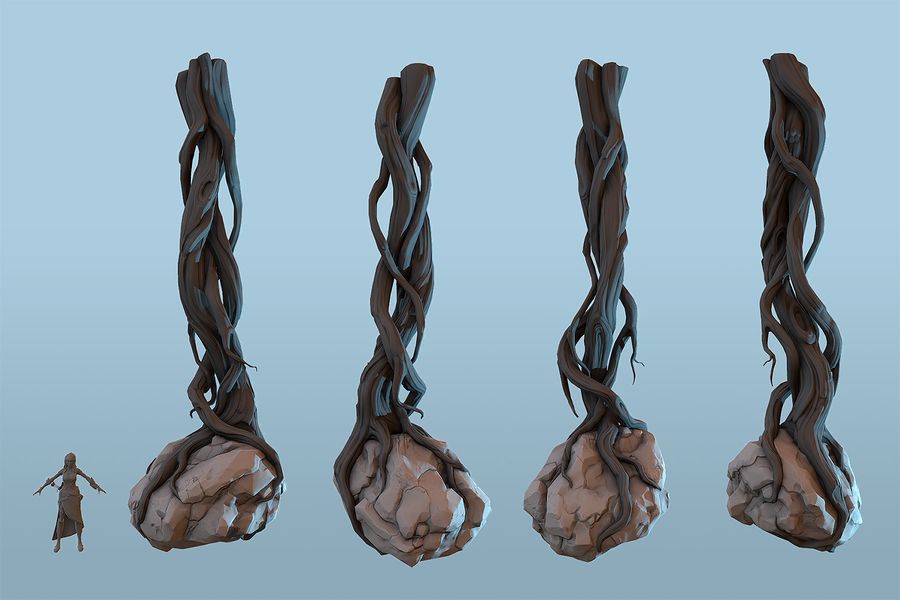
- Make the different sides of one asset different looking, that way you have lots of variation even inside the one asset and it can be copied and rotated to make look like different assets even when it's just one asset.
- One asset viewed from four directions = looks like there are four different assets:
- These three variations of the same type of tree are enough to build a forest, notice how they all have different shape but are still quite general:
Sculpting Techniques
Zbrush Tutorial: Panel Loops Ornament Technique
- Great technique for creating surface models and ornaments
- These features are used in this video:
- Panel Loops
- Masking
- Symmetry
- Morph target (kind of a layer that can be "erased")
The Form
- Once again these might come in handy: the Fundamentals of Composition very clearly and shortly explained (Check the links under 3. Composition). See NeilBlevins.com : [Theory And Techniques.]
- With Trine style in mind:
- Things to avoid:
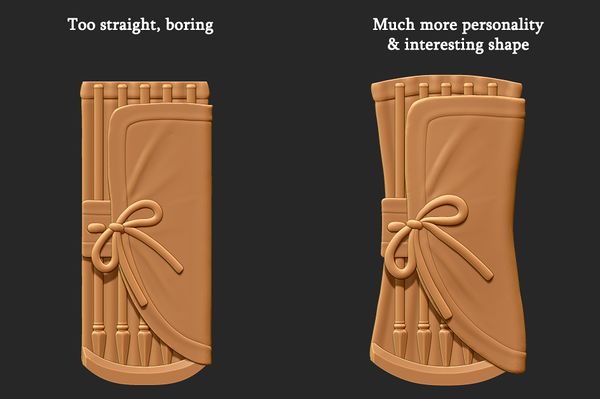
- Straight lines
- Sharp shapes/corners (we want to save those for dangerous bits)
- Symmetry
- Repetition and monotony
- Things to aim for:
- Curvy dynamic shapes
- Asymmetry
- Balance between round, curvy shapes and angular shapes
- Things to avoid:
Adding variation to organic models
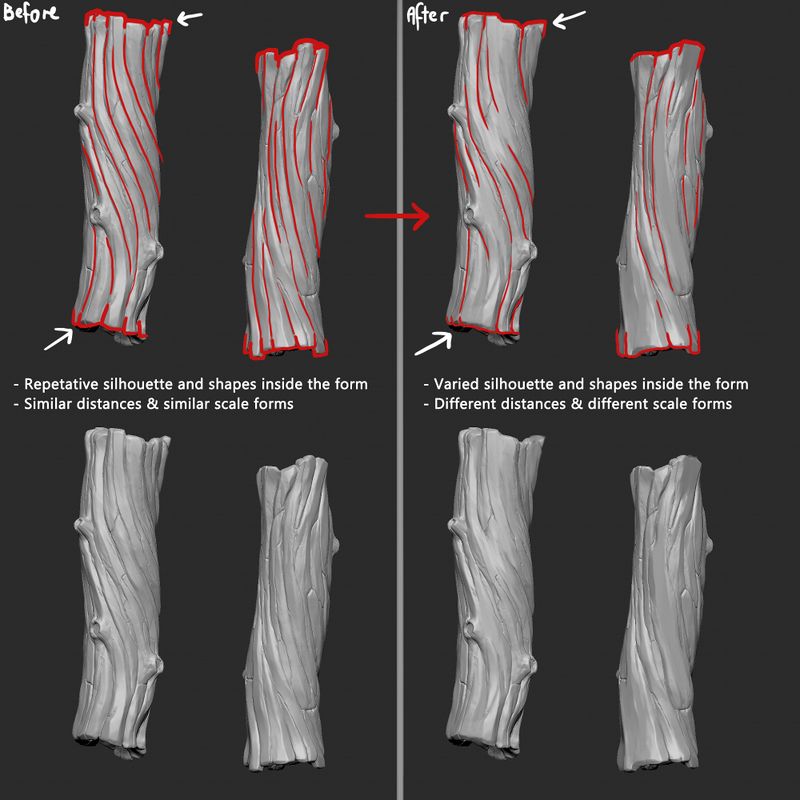
- Variation is the key thing when aiming for an interesting look for the asset
- Organic assets make it possible to really push the variation
- Variation should be present in all shapes, both inside and in the silhouette of the object
- There should be different shapes and different scale forms in the asset, also sharp vs smooth forms etc
- Make sure you have larger emptier areas and more detailed areas in nice balance
- The detail level should not be uniform throughout the asset
- Here is an example image of "adding variation to a tree trunk":
General Shape Language
- Trine style asset shapes should never be strictly straight but a little (or in some cases a lot) crooked, twisted and whimsical
- There are no "normal" assets, every asset is interesting and has character
- Assets should be stylised and their shapes exaggerated
Flourish curve guide
- Tips for achieving the nice Trine style curves
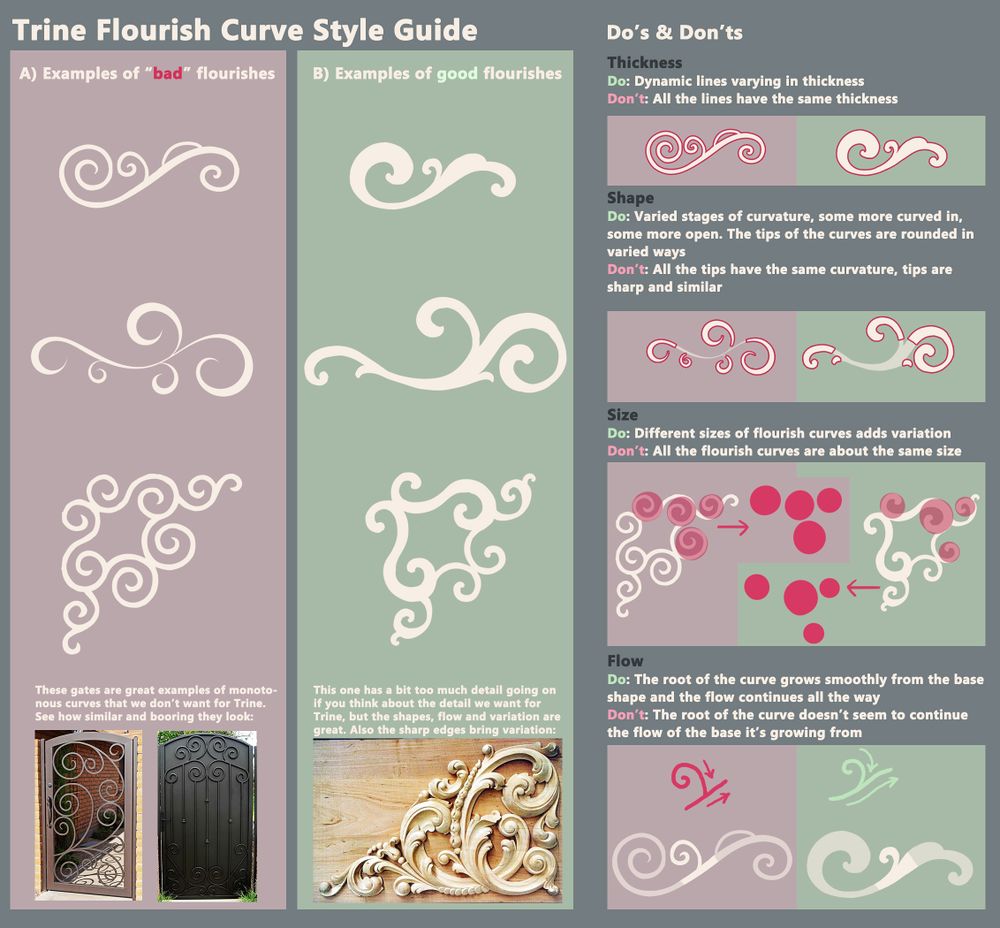
Trine Flourish Curve Style Guide
PHOTO:Multiple Sources
Exporting from Zbrush
- When your sculpt is finished and decimated it needs to be exported from ZBrush so that a low poly mesh can be created in a 3D modeling program
Decimate
- Once you are happy with the sculpt, use decimation master to make the mesh lower resolution while keeping the details
- Decimate your sculpt using decimation master in the ZPlugins tab
- You'll first need to pre-process each piece and then decimate
- You can decimate to the point just before it starts to show too much (keep the game camera distance in mind here too)
Color ID
- Apply solid colors to your sculpt using polypaint (Color > FillObject)
- This will later be used as an ID map in substance painter, so use the same color when coloring parts that have the same material
- If you plan to have only one subtool/retopo mesh, you can also use polygroups instead of polypaint for ID's for faster results, but the same polypaint can be applied across subtools whereas polygroups cannot
- Clean up your subtools: figure out which parts of your sculpt will be separated when baking, and group them up under the same subtools
- Name the subtools consistently, as this will be important later on
- Each subtool should have a suffix such as _hp or _high etc. - it doesn't matter as long as it's the same for all of them
- An example of subtool naming:
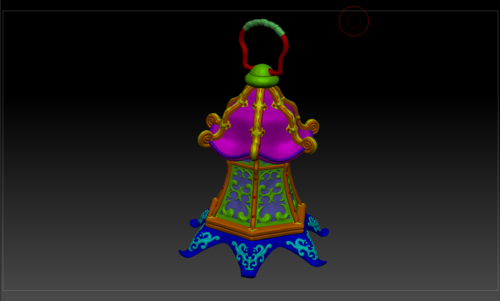
- A hipoly sculpt with different materials masked using polypaint/vertex color:
Exporting
- You can use either FBX or OBJ for exporting mashes out of ZBrush
- FBX is usually the best option as it keeps the separate subtools as separate layers in Modo
- OBJ can be used if you only have one merged piece and you don't need to bake any parts separately
Exporting as FBX
- Export your sculpt using Zplugin > FBX ExportImport
- FBX should be used since it retains the polypaint/vertex colors and named subtools in one file
- Use the following settings:
- Visible
- Smoothness unchecked (Zbrush adds 2 subdivisions to the FBX export for some reason. Unchecking smoothness removes this)
- FBX 2014
- bin
- MayaYUp
- Then the FBX can be imported to modo for retopo ("Import as reference" option recommended)
- There might be some scale issues when exporting as FBX, check the guidelines below to fix that if it happens
Exporting as OBJ
- One subtool can be exported as an OBJ
- It's done from the Tools menu "Import" and by selecting the file format OBJ
- OBJ format doesn't have layers like the FBX format so if there is only one model or the model consists of several separate models that need to be baked separately it's better to use OBJ
- OBJ scales should work nicely when exporting from Zbrush and importing to Modo
- Then the OBJ can be imported to modo for retopo ("Import as static mesh" option recommended)
About export scales
- Zbrush uses mystery units and it doesn't recognize the metric system
- What zbrush calls 'scale', is actually the size of the ztool's bounding box in mystery units
- This makes a mess when moving stuff between software with different default units
- For example: Your mesh is 2 zbrush mystery units™ tall. You import it to Modo, which has millimeters as the default units. The fbx importer converts mystery units to millimeters in a 1:1 ratio. Result: Your mesh is now 2mm tall.
- You can use Modo's import settings to set the scale right, but another app might use a different scale. Scale discrepancies galore!
- Therefore the unit scale should remain the same in all applications
- This page uses millimeters for everything, so those should be used. In theory, other units should work as well, as long as they are always the same across all applications.
- The export scale should be in the thousands, so that 1 zbrush unit converts to 1 meter
- 1 unit -> scaled to 1000 units = 1000mm = 1m
Setting the export scale
- When exporting from Zbrush, you might notice that your model's scale is off when importing to another application
- This usually occurs when you export an object that's made completely in zbrush without a base mesh
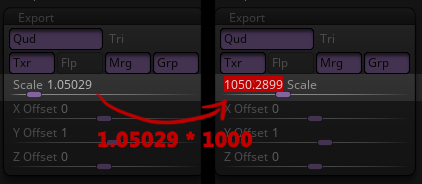
- To fix this, once you are ready to export, go to Tool -> Export -> Scale
- The scale should be in the thousands, meaning 4 digits before the decimal point, so (usually) multiply it by 1000 (a.k.a move the decimal point 3 places to the right)
- If using a base mesh, as shown earlier, the scale should be fine
- Now it should work properly in Modo/Painter when exported as FBX
- If you did use a base mesh made in Modo in the right scale, don't do this! It should be fine!
- If you export as obj, don't do this! It should be fine!
- You can bypass this problem, and make your hipoly without a base mesh from start to finish in zbrush, by importing a 2x2x2m cube from Modo to Zbrush, and then appending your sculpts to the cube
- The cube can be ignored afterwards. The function of the cube is to initialize the zbrush unit space to sync up with Modo.
- After importing the cube, you can check the export scale, which should now show up in the thousands as it should
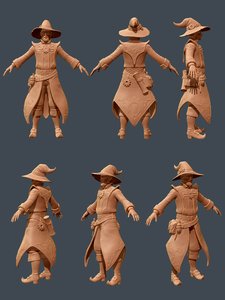
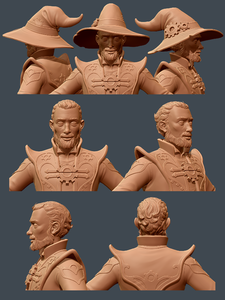
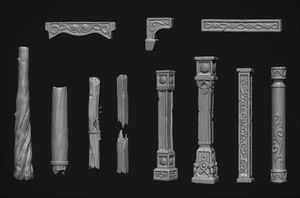
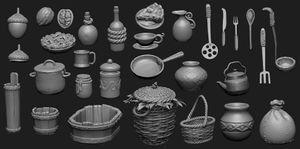
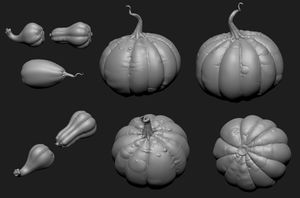
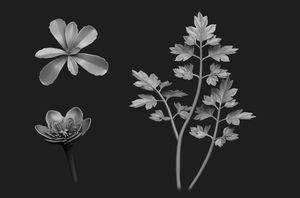
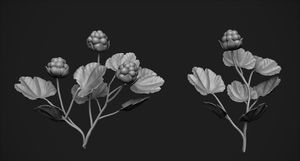
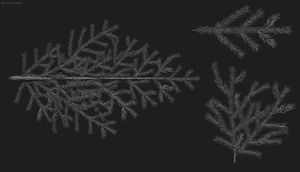
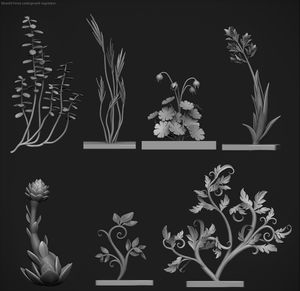
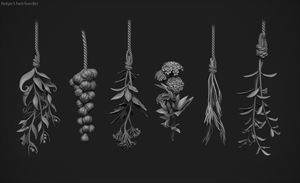
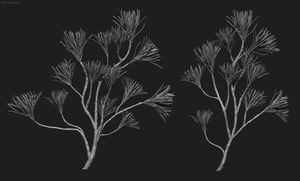
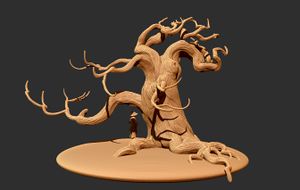
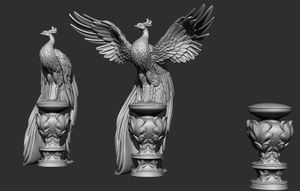
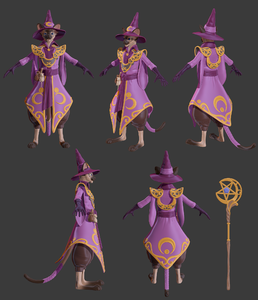
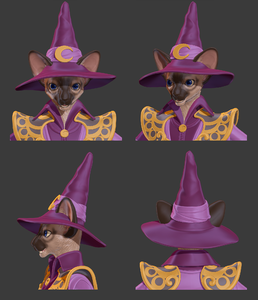
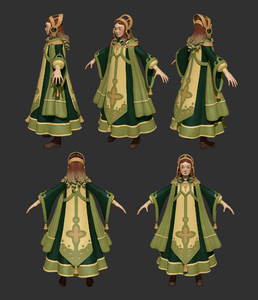
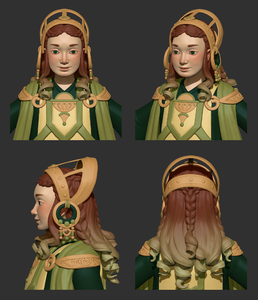
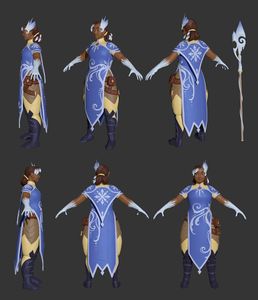
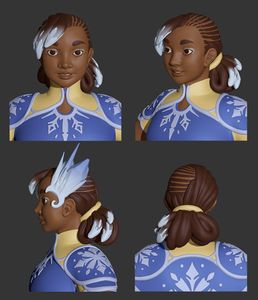
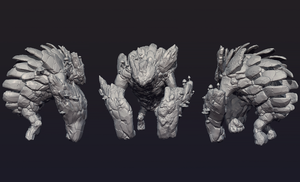
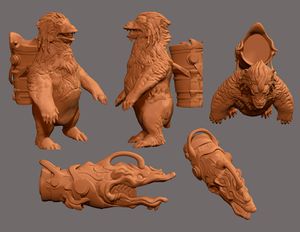
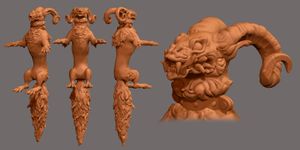
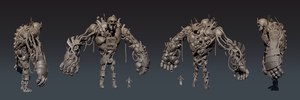
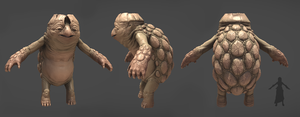
Frozenbyte sculpt examples
Sources
[PHOTO: Trine Flourish Curve Style Guide.jpg] - Source list :
- Img. 1 : Pintrest [accessed June 5, 2018] Barcelona Steel Door. Available at: https://www.pinterest.de/pin/293367363199673143/
- Img. 2 : STD Privacy Gates [accessed June 5, 2018] STD Privacy Gates - ALLIED GATE companyALLIED GATE company. Available at: http://www.alliedgate.com/irongates/iron-gate-photos/std-privacy-gates/
- Img. 3 : Андрій Метельський [accessed June 6, 2018] Андрій Метельський - Різьба по дереву - різних майстрів. | OK. Available at: https://ok.ru/andry.metelsky/album/582642885456/582712663376
